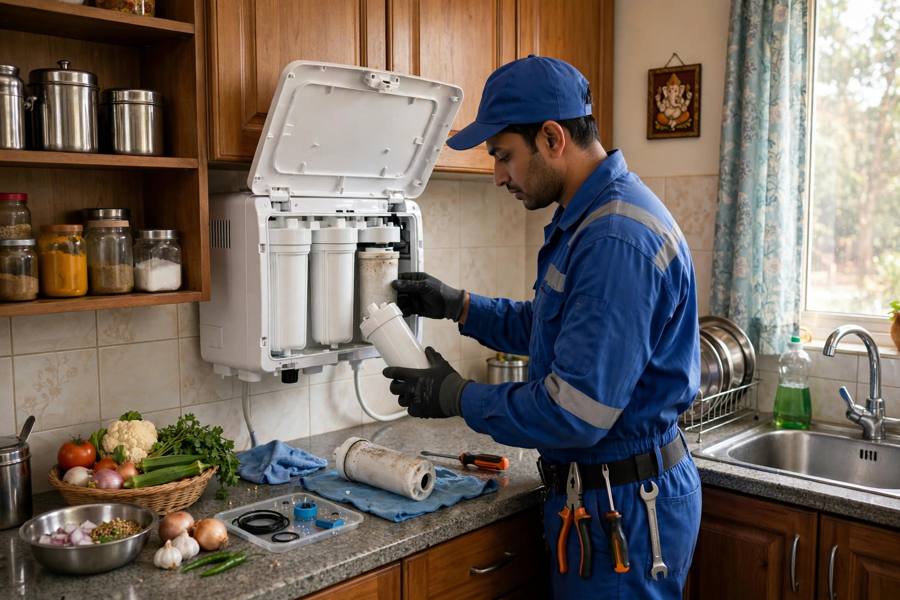
Buying a new RO water purifier is exciting — but the installation is what decides whether it works perfectly for years or gives trouble from month one. A rushed, careless installation causes low water pressure, leakages, wrong TDS settings and even voided warranties. Here is exactly what happens during a professional RO installation, step by step, so you know what to expect when our technician rings your doorbell. Whether you bought your purifier online or from a local dealer in Ahmedabad, the installation process is the same — and knowing it helps you judge whether the job was done right.
Before the Technician Arrives: Site Readiness
A good installation starts before any drilling. Keep these ready:
- A wall spot near the kitchen sink — within 1 to 1.5 metres of both a water inlet tap and a power socket.
- Clear space below the mounting point so the technician can work comfortably and you can access the purifier later.
- Know your water source — municipal tap, borewell or tanker. This affects the pressure check and settings.
The Professional Installation Process, Step by Step
1. Site check and water pressure test
The technician first checks the inlet water pressure. RO membranes need adequate pressure to work; too-low pressure (common in high-rise buildings) may need a booster pump, and the technician will tell you honestly before proceeding.
2. Wall mounting
The purifier's mounting bracket is fixed to the wall with proper anchor bolts — not ordinary screws that loosen over time. The unit must sit perfectly level; a tilted purifier strains internal connections and can leak.
3. Inlet water connection
A food-grade inlet pipe connects your tap to the purifier through a diverter valve. All joints are tightened and checked twice — most installation-day leakages come from this single step done carelessly.
4. Reject-water (drain) outlet
RO purifiers reject some water during purification. The reject pipe is routed neatly to your sink drain or a collection bucket. The technician will show you how to reuse this water for mopping or gardening instead of wasting it.
5. Electrical connection and safety check
The unit is plugged into a properly earthed socket. The technician verifies there is no current leakage and that the auto cut-off works — the purifier must stop by itself when the tank is full.
6. TDS setting
This is the step most installers skip. Using a TDS meter, the technician sets your output water to a healthy range (typically 100–300 ppm for good taste). Too-low TDS tastes flat; too-high defeats the purpose of the purifier.
7. Flushing, testing and demo
The first tank of water is always discarded — it flushes manufacturing residues from new filters and the membrane. Then the technician tests flow rate, checks every joint for drips, tastes the water, and gives you a complete usage demo: how to read indicators, when filters need changing, and basic daily care.
Do's and Don'ts After Installation
- Do discard the first full tank of purified water.
- Do note the installation date — your first service is due in 6 months.
- Don't run the purifier on a dry tap; it damages the booster pump.
- Don't let anyone except a trained technician open the unit — most brand warranties are voided by unauthorised tampering.
Common Installation Mistakes to Watch For
Even with a professional on the job, it helps to know what good looks like. The most common installation mistakes are: mounting on a weak wall section or with undersized screws, so the unit vibrates and slowly pulls out; connecting the inlet without a proper diverter valve, which starts leaking within weeks; leaving the reject pipe dangling into the sink instead of routing it neatly; never measuring the TDS — the installer simply assumes the default setting is fine; and skipping the demo at the end, leaving you unsure when the first service is due. If you notice any of these happening, ask about it on the spot. A confident professional welcomes the questions.
The First Week After Installation
For the first two or three days, the water may taste slightly different as the new filters settle — this is normal and fades quickly. Keep an eye under the unit for any dampness around the joints; tiny installation-day drips sometimes appear after the first full tank cycle. Also note how long a full tank takes to fill — that is your baseline. If filling time doubles a few months later, it is an early warning of clogging filters. And save our number: if anything seems off within the first 30 days, the installation workmanship is covered under warranty and we return free of charge.
Why Professional Installation Matters
Renting your home? Professional installation is even more valuable — when you shift, the same technician can safely uninstall (₹399) and reinstall (₹499) your purifier at the new address without damaging it, something a DIY wall-mount rarely survives.
A proper installation protects three things: your warranty (brands honour it only with authorised-style professional fitting and a job card), your safety (water + electricity demand correct earthing and neat piping), and your purifier's lifespan (correct pressure and TDS settings from day one mean filters and membranes last their full rated life). At Nyasa Enterprise, professional installation is a fixed ₹499 — wall mounting, connections, testing and demo included, with a 30-day service warranty on the workmanship.